A Renter-Friendly Living Room Makeover You Can Undo
Plan a reversible rental living-room makeover with lease checks, removable wall and window ideas, plug-in lighting, textiles, layout, and storage.
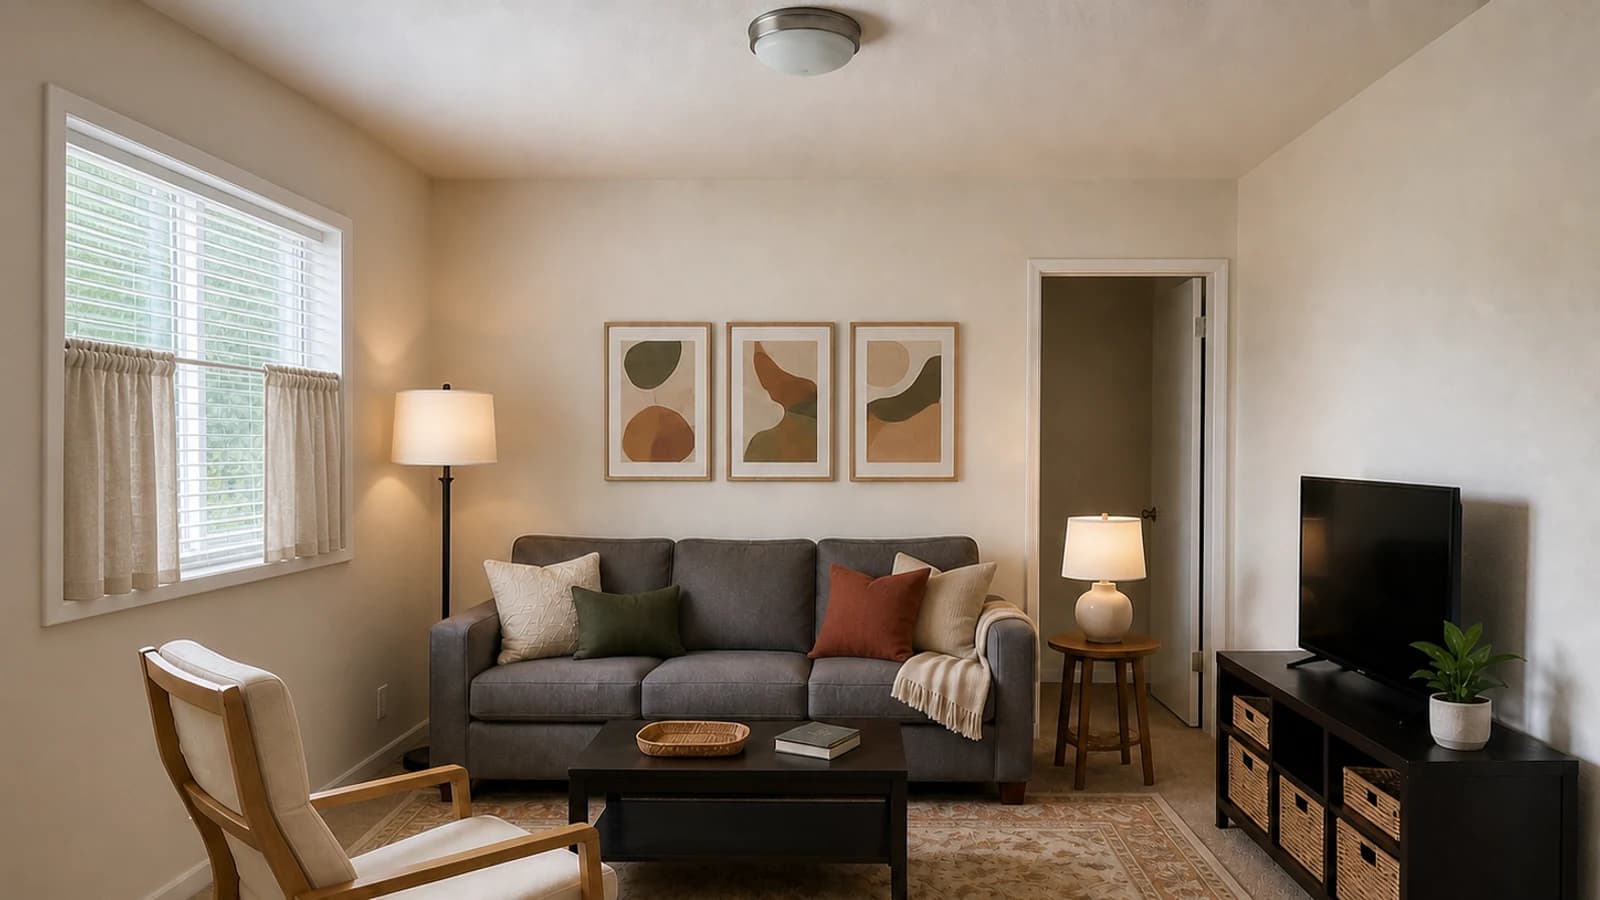
A renter-friendly living-room makeover starts with an exit plan, not a product list. Photograph the room, read the lease and building rules, ask for written approval where required, and preserve every owner-provided part. Begin with freestanding layout, rugs, textiles, lamps, plants, and storage; consider surface-contact products only after a discreet test and permission check. Nothing is universally damage-free, so every change needs a compatible surface, safe installation, and a documented way to restore the room.
| Change level | Examples | Approval posture | Exit plan |
|---|---|---|---|
| Freestanding | Layout, rug, lamps, plant, baskets, leaning art where safe | Usually lower contact; still follow property and safety rules | Photograph positions; remove movable items |
| Surface contact | Adhesive hooks, films, tension products, temporary coverings | Check lease and surface; test discreetly; follow product limits | Keep instructions; remove exactly as directed |
| Fastened | Screws, brackets, curtain hardware, anchored storage | Written permission and suitable hardware may be required | Record holes, parts, and agreed restoration |
| Fixture or finish | Paint, hardwired light, owner blinds, switches, flooring | Do not assume; obtain explicit authorization and qualified work where required | Store originals; document approved restoration |
1. Read the lease before choosing the makeover
Search the lease, addenda, resident handbook, and move-out instructions for painting, wall fasteners, adhesives, window coverings, electrical fixtures, floor protection, furniture anchoring, balcony or exterior visibility, and restoration. If language is unclear, ask management or the owner a narrow written question that names the product, surface, installation method, duration, and removal plan. Save the response with your move-in documents.
Permission is property-specific. A method accepted in one building may be prohibited in another, and a social-media label cannot change the lease. Do not treat silence as consent. Separate what you may do from what can only be discussed as inspiration.
2. Make a restoration record before touching the room
Take dated wide and close photographs of every wall, trim edge, window, blind, outlet, switch, ceiling fixture, carpet seam, floor transition, and existing mark. Record the room from the same doorway you will use for before-and-after comparisons. If management provided a move-in condition form, use its process rather than inventing a replacement.
Create one labeled restoration box for any approved part you remove: screws, brackets, hooks, shades, switch plates, curtain hardware, or other owner property. Put small hardware in separate labeled bags. Keep written approval and installation instructions in the same record so move-out does not depend on memory.
3. Start with the layout because it leaves no surface behind
Rearrange the sofa, chair, tables, media console, lamps, and storage before adding a wall treatment. Define the room's primary use, protect the route between openings, operate doors and windows, and place light near the seats that need it. A better furniture relationship can make a rental feel intentional without contacting the shell at all.
Use the no-shopping process in small living room ideas with existing furniture to inventory pieces, map circulation, and compare layouts before purchasing decor.
4. Use a rug as a removable floor layer
A rug can define the seating group, introduce color, and cover a visually difficult floor without replacing it. Measure the furniture relationship and doors first. Then verify the rug and pad materials against the actual carpet or hard-floor finish; backing, dyes, moisture, grip, pile, and cleaning conditions vary. Follow the property, flooring, rug, and pad instructions rather than assuming any combination is harmless.
For the footprint itself, use the living-room rug size guide and tape the exact candidate dimensions before ordering.
5. Treat walls as a permission ladder
Begin with zero-contact options: art on a freestanding easel, frames supported on furniture where stable, a folding screen, or a textile displayed on a permitted stand. Next are surface-contact products such as removable strips or temporary coverings. These still need lease review, weight and surface compatibility, a discreet test, and exact installation and removal instructions. No adhesive is universally safe for paint, plaster, paper, masonry, or textured walls.
Fastened art, curtain hardware, shelving, and anchored storage require a different conversation. Ask what fasteners are allowed, which walls are restricted, whether professional installation is required, and what restoration means. Heavy objects, televisions, and furniture stability are safety decisions, not styling shortcuts.
6. Soften the window without disabling it
Keep owner-provided blinds, screens, locks, and operating parts unless explicit authorization says otherwise. Where a tension product or other removable treatment is permitted and physically compatible, confirm the recess dimensions, pressure limits, trim condition, opening movement, radiator or vent relationship, privacy, and removal instructions. Store any approved removed hardware rather than discarding it.
In homes where young children are present, review the current CPSC window-covering cord guidance. It identifies cordless coverings as the safest option and explains why furniture and accessible cords require special attention.
7. Layer plug-in lighting before discussing fixtures
Use floor and table lamps to create ambient and task light around the fixed ceiling fixture. Place them beside actual activities, keep shades out of seated sightlines, inspect product condition, and follow manufacturer limits. Route cords away from traffic and pinching; do not conceal them under rugs or improvise wiring. Fixture replacement and hardwired work require explicit authorization and appropriately qualified installation.
The CPSC home electrical safety checklist includes checks for damaged cords, overloaded outlets, and cords in foot-traffic paths.
8. Let textiles carry the palette
Pillow covers, a throw, curtains where permitted, and a rug can establish most of the visible palette without changing paint. Choose one base neutral, one quieter color, and one restrained contrast. Repeat them across larger surfaces before adding small accessories. Verify fabric color, care, shedding, lightfastness, and compatibility in the real room; a generated image cannot identify materials or guarantee a match.
9. Add storage that stands on its own
Use existing cabinets more clearly before buying storage. Remove temporary clutter, assign each cubby a category, and use matching bins only when their measured dimensions fit and their handles remain reachable. If more capacity is genuinely necessary, prefer a stable freestanding piece that does not block vents, controls, doors, or paths. Follow current tip-over guidance and any lease requirements for anchoring; removable does not mean safe without restraint.
10. Audit a fixed-shell before-and-after
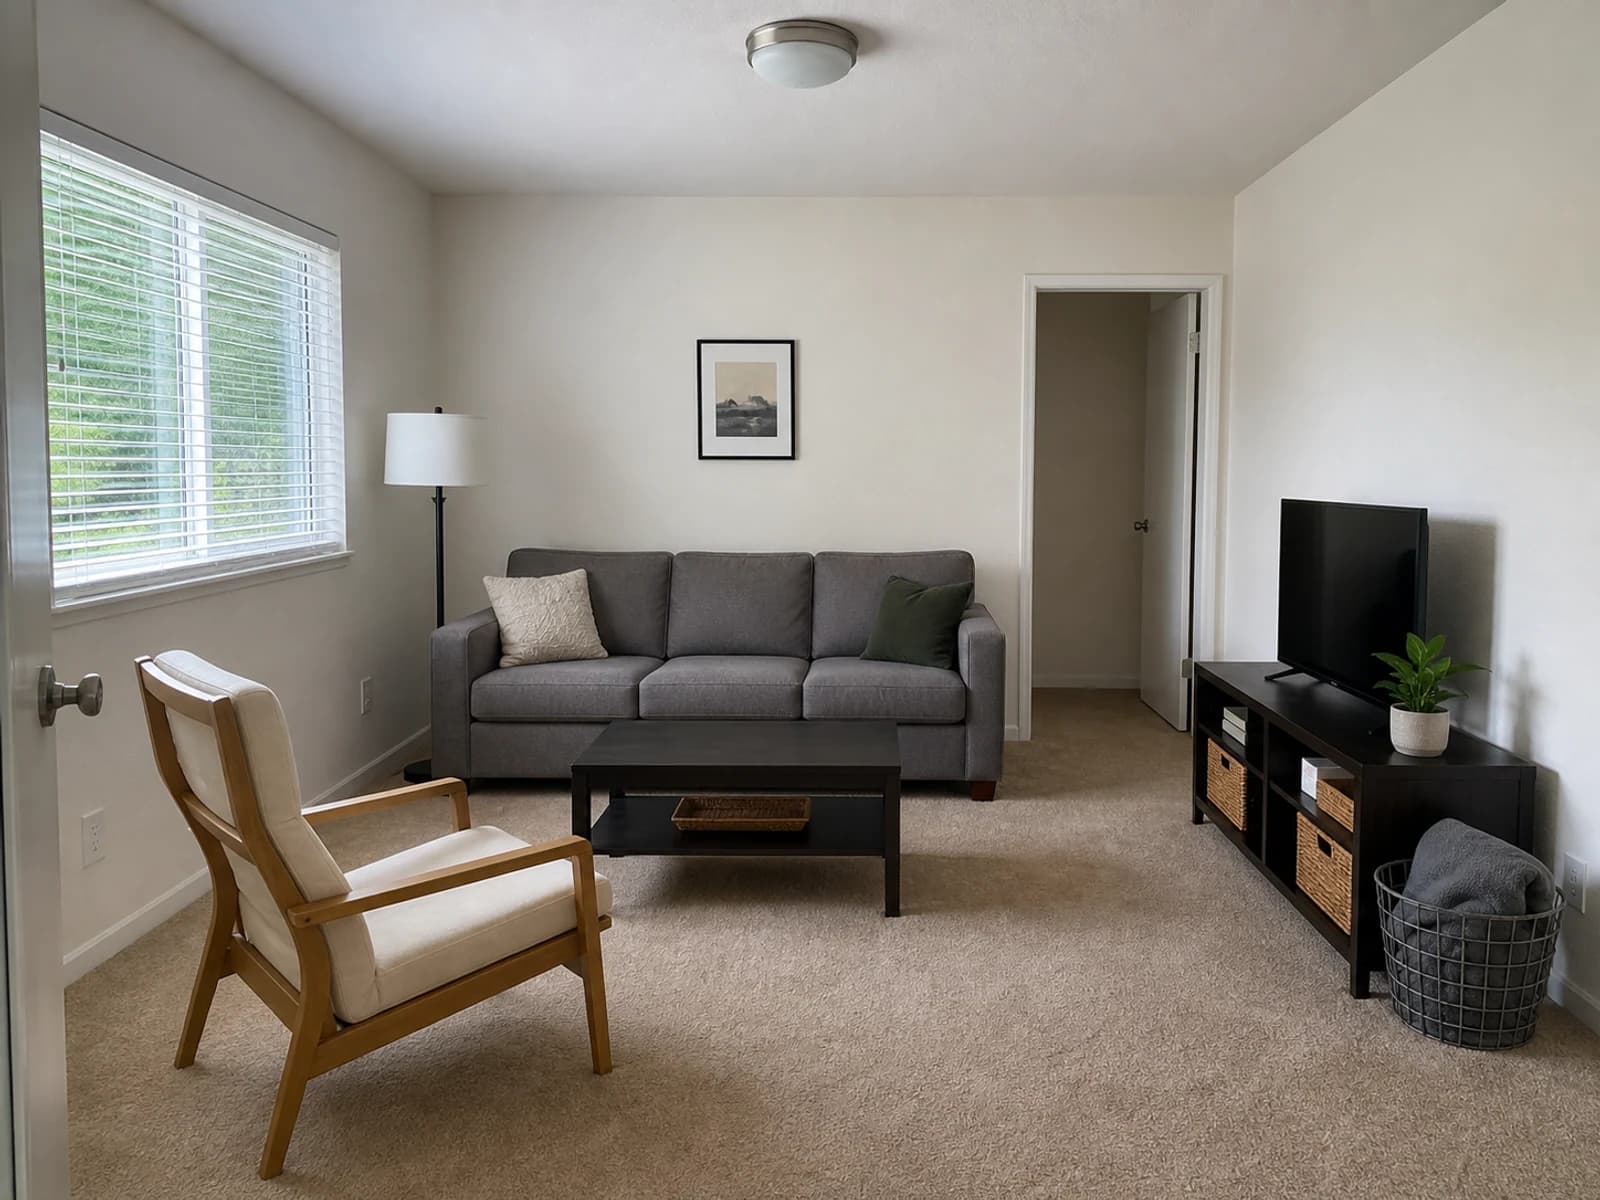 before
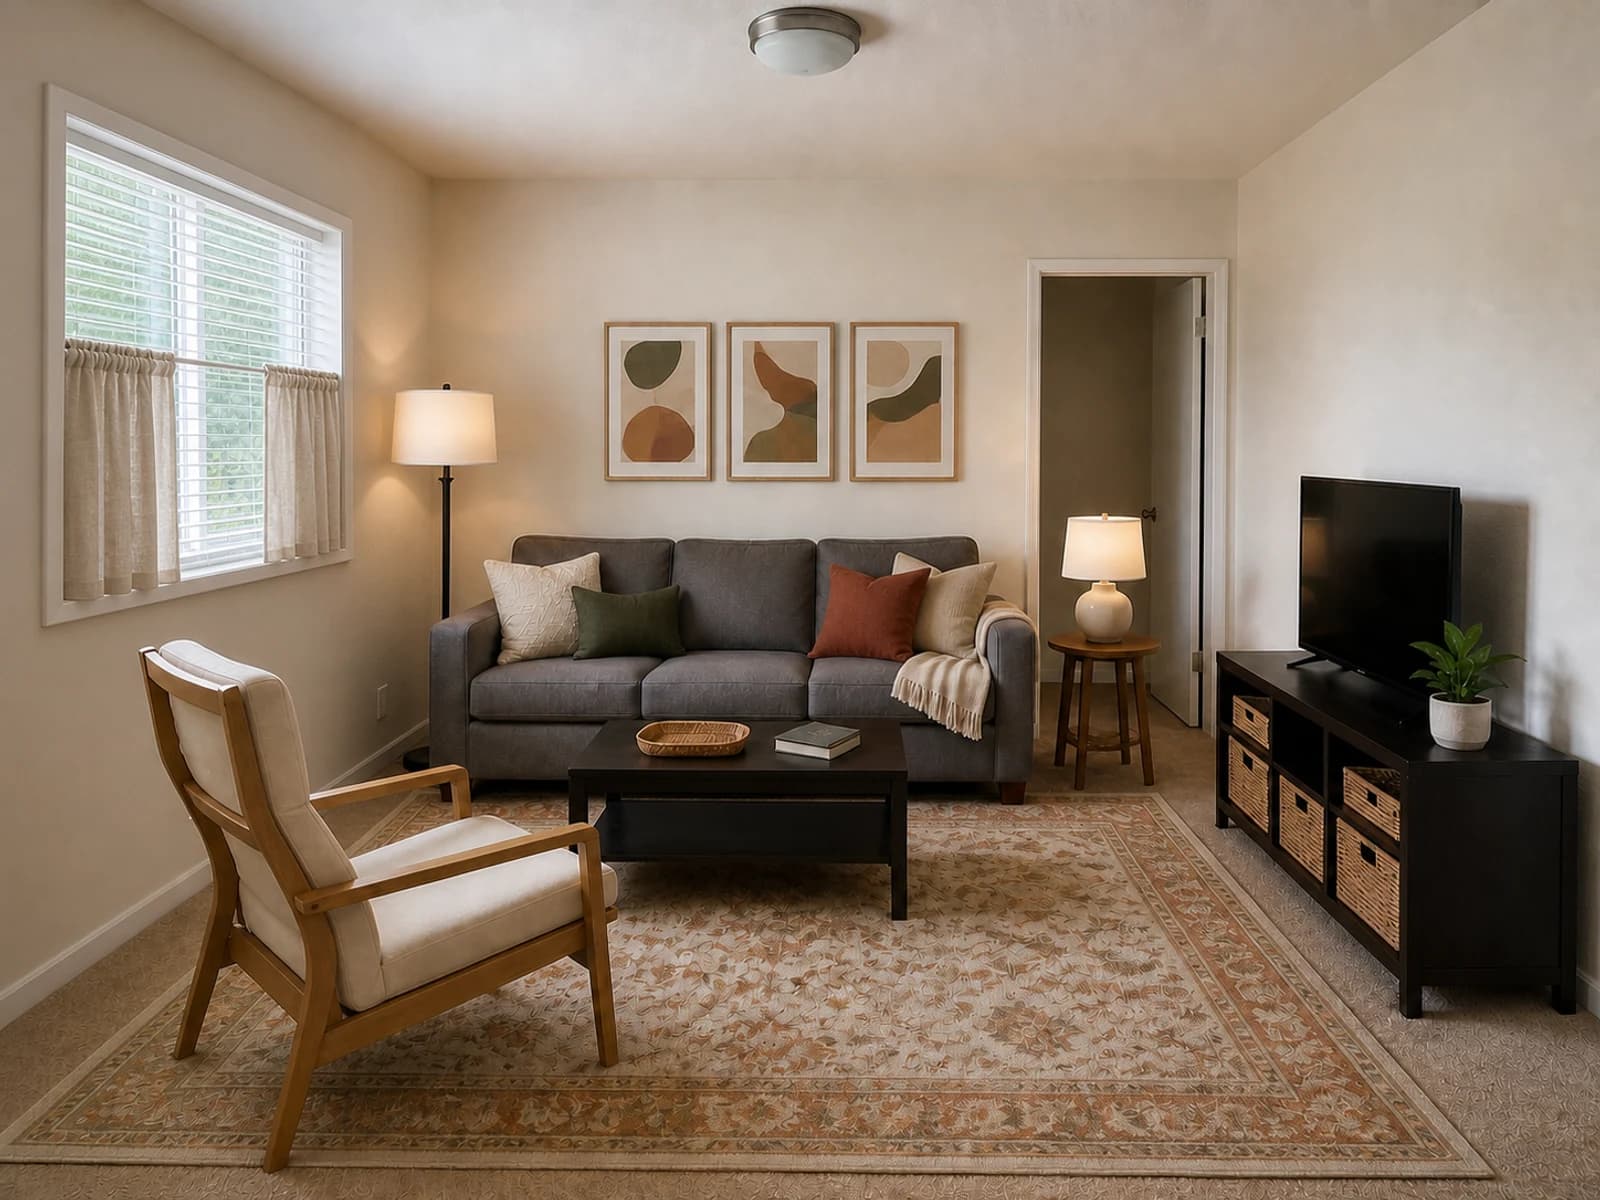 after
afterWhat stayed
The warm-white walls, beige wall-to-wall carpet, window and trim, cordless blinds, rear doorway and door, ceiling and flush-mount light, baseboards, outlets, room proportions, camera, gray sofa, oak-and-cream chair, coffee table, floor lamp, media console, television, and plant remain recognizable.
What changed
The concept adds a warm patterned rug over the carpet, inside-recess café curtains that leave the blinds visible, removable pillow covers and throw, a freestanding side table and plug-in lamp, lightweight art direction, consolidated woven bins, and restrained table styling. These are categories to evaluate, not verified products or installation instructions.
What to verify
Verify lease permission, move-in condition, wall and trim surfaces, tension pressure, window operation, blind safety, rug and pad compatibility, doors, vents, cords, outlets, art weight, storage stability, furniture paths, product instructions, and the exact restoration standard. Reject any change that lacks safe installation or a clear exit plan.
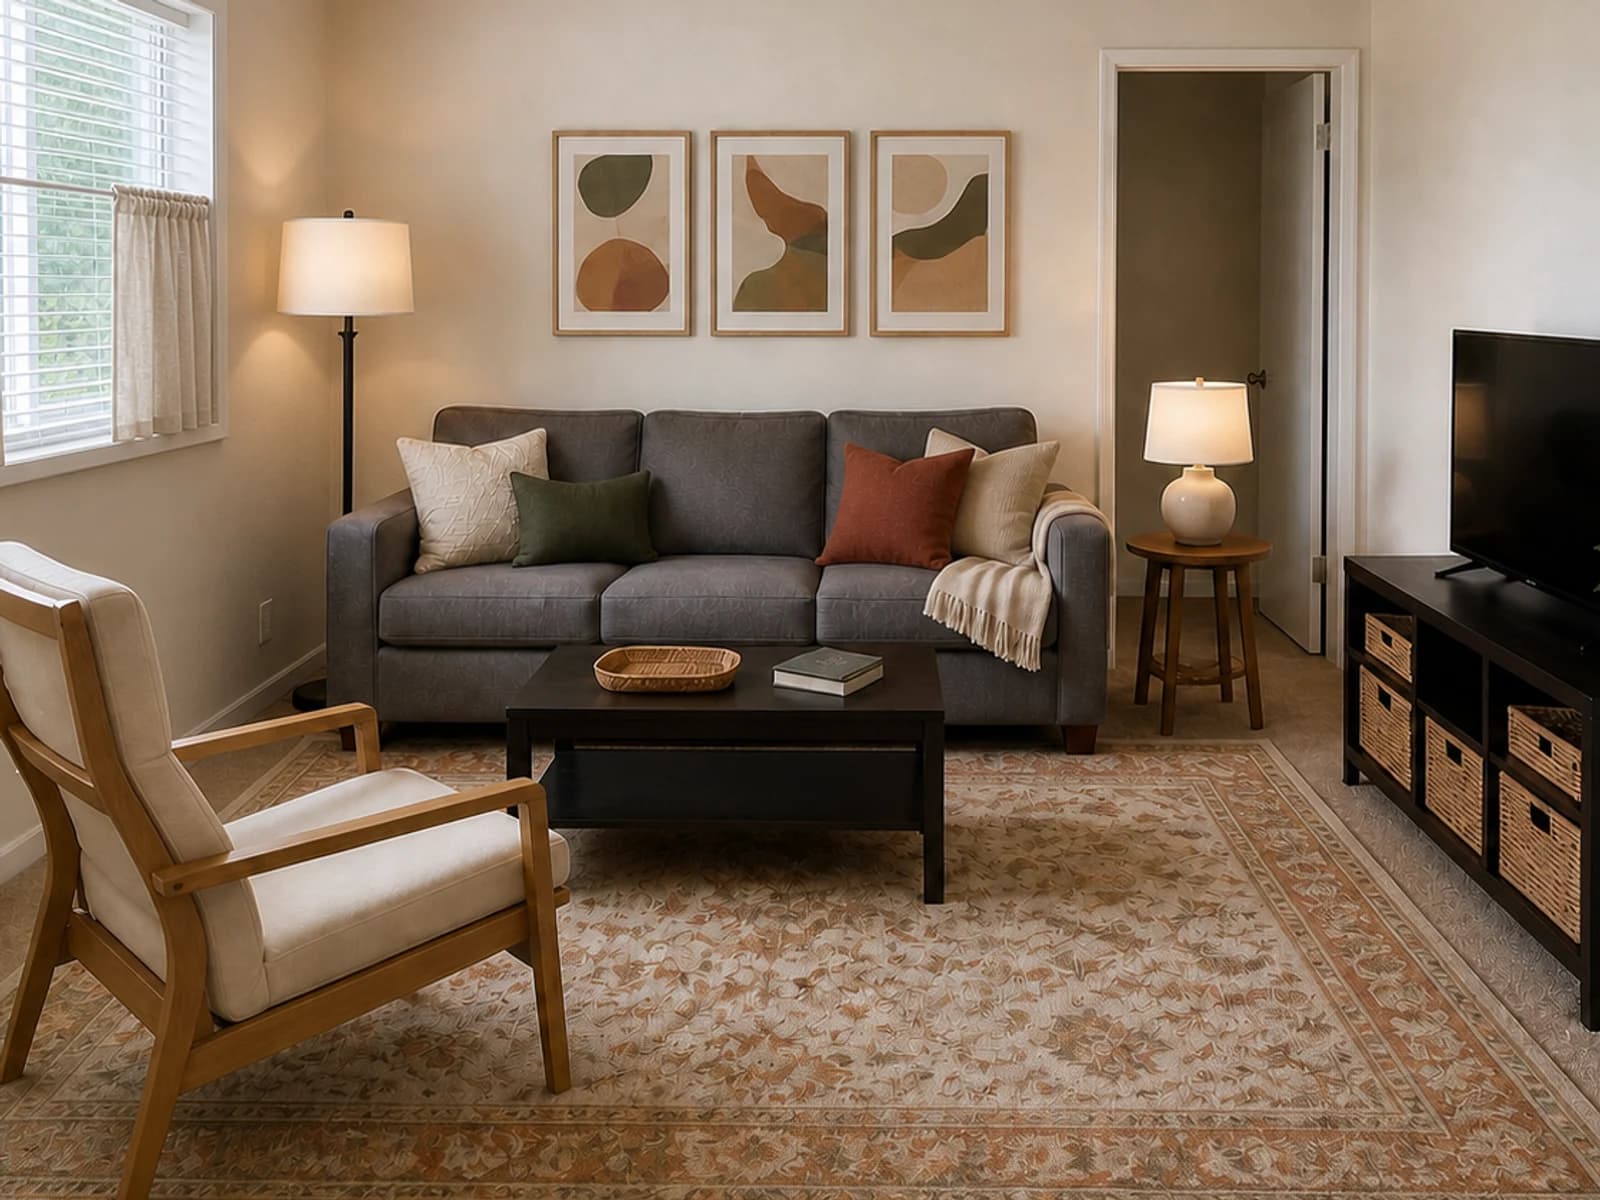
For the complete source-photo and constraint sequence, use the AI living room design from a photo guide.
A rental-safe preview prompt
If many fixed and movable pieces must remain, combine the prompt with the hierarchy for keeping existing furniture and finishes.
Build an undo kit while you install
- Dated before photographs and the move-in condition record
- Lease clauses, addenda, house rules, and written approvals
- Product, weight, surface, installation, care, and removal instructions
- Every owner-provided part in a labeled container
- Separate labeled bags for screws, brackets, hooks, and small hardware
- Notes on exact original positions and orientations
- Approved paint or finish information supplied by management, if applicable
- A calendar reminder to remove and restore with enough time before inspection
Common renter-makeover mistakes
- Treating a renter-friendly label as lease approval.
- Skipping a discreet surface test or product instructions.
- Applying adhesive over damaged, dirty, damp, textured, or unknown finishes.
- Discarding owner-provided hardware or window parts.
- Running lamp cords through paths or beneath rugs.
- Blocking windows, vents, heaters, controls, or doors with furniture or curtains.
- Assuming freestanding storage never needs stability review.
- Reading a generated image as proof of permission, compatibility, fit, or safe installation.
- Waiting until move-out week to test the removal plan.
Frequently Asked Questions
Design the makeover and the exit together
A successful rental makeover is not merely temporary-looking. It is documented, permitted, compatible with the real property, safely installed, and planned for restoration. Begin with layout, rug, lamps, textiles, plants, and freestanding storage. Move up the permission ladder only when the visual benefit justifies the contact and the exit plan is credible. Preview the layers together, then verify every lease, surface, product, and safety decision before installation.
FAQ
Common questions
- What makes a living-room update renter-friendly?
- It is renter-friendly only when the lease and property rules allow it, the real surface or fixture is compatible, installation is safe, and you have a documented removal and restoration plan. A product label alone is not approval.
- Can removable hooks or wallpaper damage rental walls?
- Yes. Adhesive performance varies with paint, wall material, preparation, humidity, age, and removal method. Check the lease, obtain permission when required, follow limits and instructions, test discreetly, and stop if the surface changes.
- How can I improve rental lighting without replacing fixtures?
- Start with freestanding table and floor lamps placed near actual tasks and dark zones. Use safe listed products, keep cords out of traffic, avoid overloading outlets, and leave hardwired work to authorized qualified professionals.
- What should I keep for move-out restoration?
- Keep dated room photos, written approvals, product and installation instructions, paint or finish records supplied by management, and every removed owner-provided part with its hardware in a labeled container.
- Can an AI preview confirm that a rental change is allowed or removable?
- No. A preview can compare visual direction, but it cannot inspect the lease, paint bond, wall construction, wiring, window system, product compatibility, or restoration standard. Verify each change independently before installation.
Keep exploring
Related reading
Living Room Ideas
Fall 2026 Living Room Ideas: 9 Warm, Collected Updates to Preview First
Living Room Ideas
Small Living Room Ideas That Do Not Require New Furniture
Living Room Ideas
What Size Rug Does Your Living Room Need? A Visual Guide
AI Room Design
AI Living Room Design From a Photo: A Practical Step-by-Step Guide
AI Room Design
Can AI Redesign a Room While Keeping Your Existing Furniture?
Try Room Foundry
Preview a warmer rental without changing the shell.
Upload your living room, preserve the walls, floor, windows, fixtures, and furniture that must stay, then compare reversible layers together.
Preview your living room free