AI Interior Design From a Photo: How It Works and What to Expect
Upload a room photo, choose a style and keep-items, compare the AI preview with the source, then verify measurements, products, safety, and fit.
For AI interior design from a photo, upload one clear image of your room, choose the room type and one style, and mark furniture or finishes that should stay. Generate a visual concept and compare it with the source before refining one mismatch. Use the preview to narrow decorating decisions. Measure the real room and verify products, materials, clearances, safety, and installation before you buy or build.
The important word is concept. A generated preview can help you decide whether warm wood, quieter curtains, a larger rug, or a different bed treatment feels right. It cannot certify measurements, construction feasibility, product identity, code compliance, or the exact way a paint or textile will look in your light. Use the image to narrow decisions, then verify the real room.
What AI Interior Design From a Photo Can—and Cannot—Tell You
| A preview can help you explore | A preview cannot confirm | You should verify |
|---|---|---|
| Style and mood | Exact dimensions | Room and furniture measurements |
| Color and material relationships | True paint or textile color | Physical samples in your lighting |
| Furniture categories and visual scale | Product identity or availability | Current retailer specifications |
| A possible layout direction | Clearances, structure, or code | Fit, circulation, safety, and feasibility |
| What may be worth keeping or changing | Final cost or installation result | Budget, labor, delivery, and returns |
What Is Photo-Based AI Interior Design?
Photo-based AI interior design is an image-generation workflow anchored to a source room. Unlike a blank text prompt that produces an imaginary interior, it begins with visible information from your photo: the camera view, broad room shape, openings, major furniture, finishes, and light. Your style and keep instructions tell the system which design direction to explore around that starting point.
The source image and your instructions play different roles. The image supplies the visible context; the instructions establish priorities. A request for a warm-modern bedroom might influence palette, lines, textiles, lighting, and accessory density, while a request to keep the flooring or bed narrows what should change. The output combines those signals into a new image rather than retrieving a predesigned room from a catalog.
That does not turn one photograph into a complete digital twin. A photo contains perspective but does not disclose every wall, hidden obstruction, exact dimension, material specification, or building condition. Research systems such as LayoutNet can estimate room layout from a single RGB image, but an estimate is different from a dimensioned survey. For decorating decisions, this distinction is practical: the image can be persuasive while a proposed object is still the wrong physical size.
If you want a product-focused overview before the detailed workflow, start with the Room Foundry AI room design guide. This article focuses on how to judge a photo-based result and what to do next.
From Photo Upload to AI Preview: Five Steps
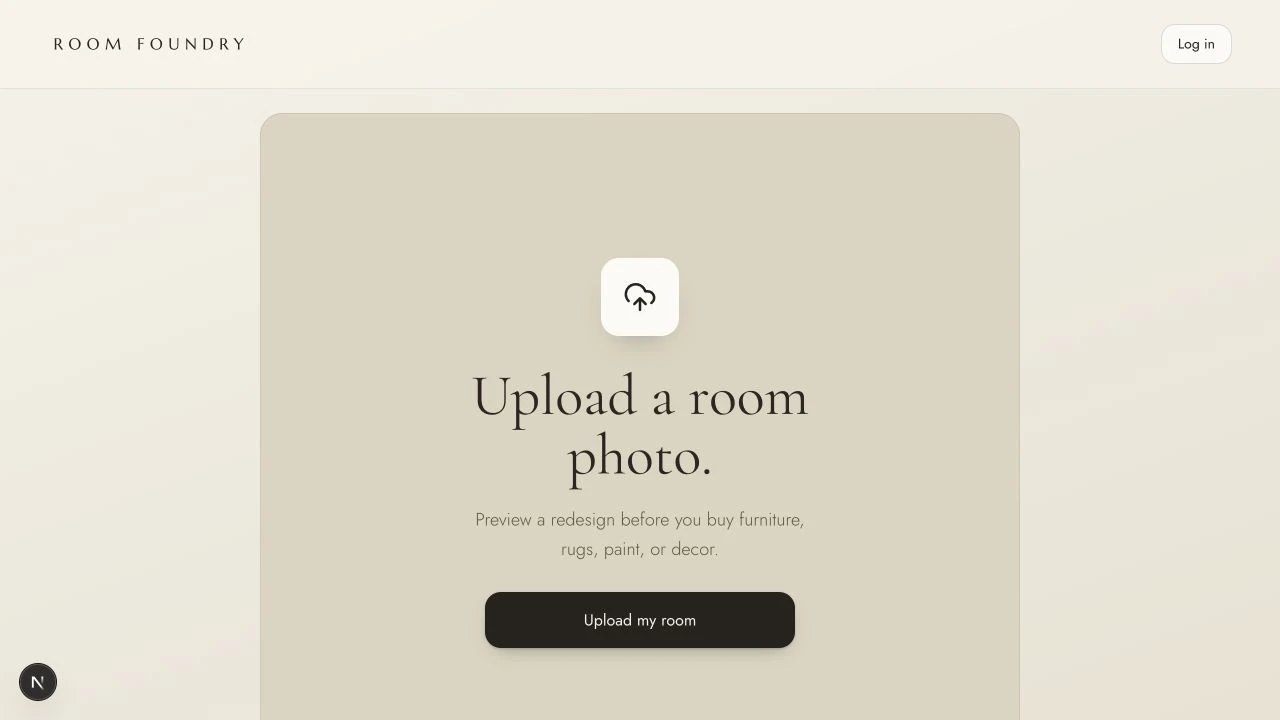
1. Upload one clear photo of the room
Start with a well-lit image that shows as much of the room as practical. Stand near a corner or doorway, keep the camera approximately level, and include the floor-to-wall relationship, windows, major furniture, and fixed features. Open curtains or blinds if they cause deep shadows, but avoid an overexposed window that erases the surrounding wall. A current, honest room photo is more useful than a tightly cropped or heavily filtered image.
2. Choose the room and a coherent style direction
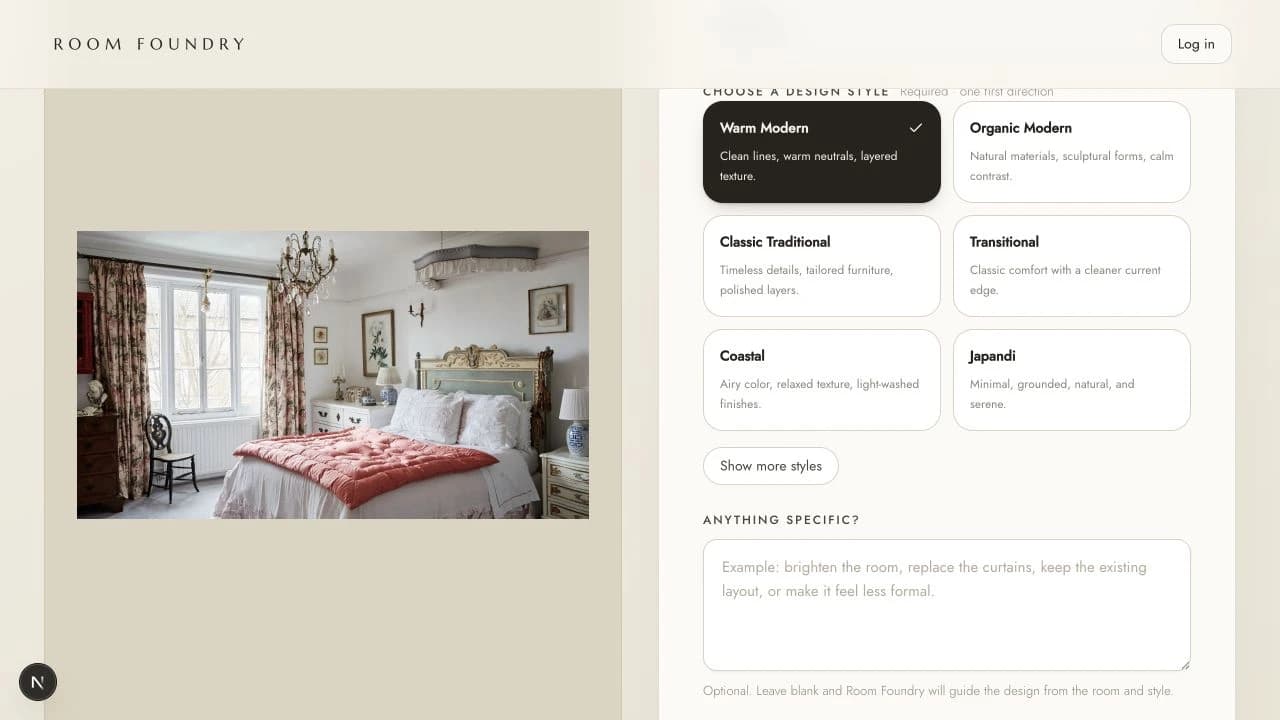
Select the room type and the closest design direction, then add a short note if the label is not specific enough. Useful notes describe visible decisions: warm white walls, medium oak, olive textiles, tailored curtains, fewer small accessories. A list of conflicting style names gives the system less hierarchy. Choose one primary direction and add one or two priorities instead.
3. Say what needs to stay
Preservation instructions are constraints, not background information. Identify the bed, sofa, rug, lighting, flooring, wall color, windows, artwork, or other elements that matter. Prioritize the non-negotiable items; asking to preserve every small object can leave little room for a meaningful redesign. If one feature must match closely, name it in the note as well as selecting the relevant keep option.
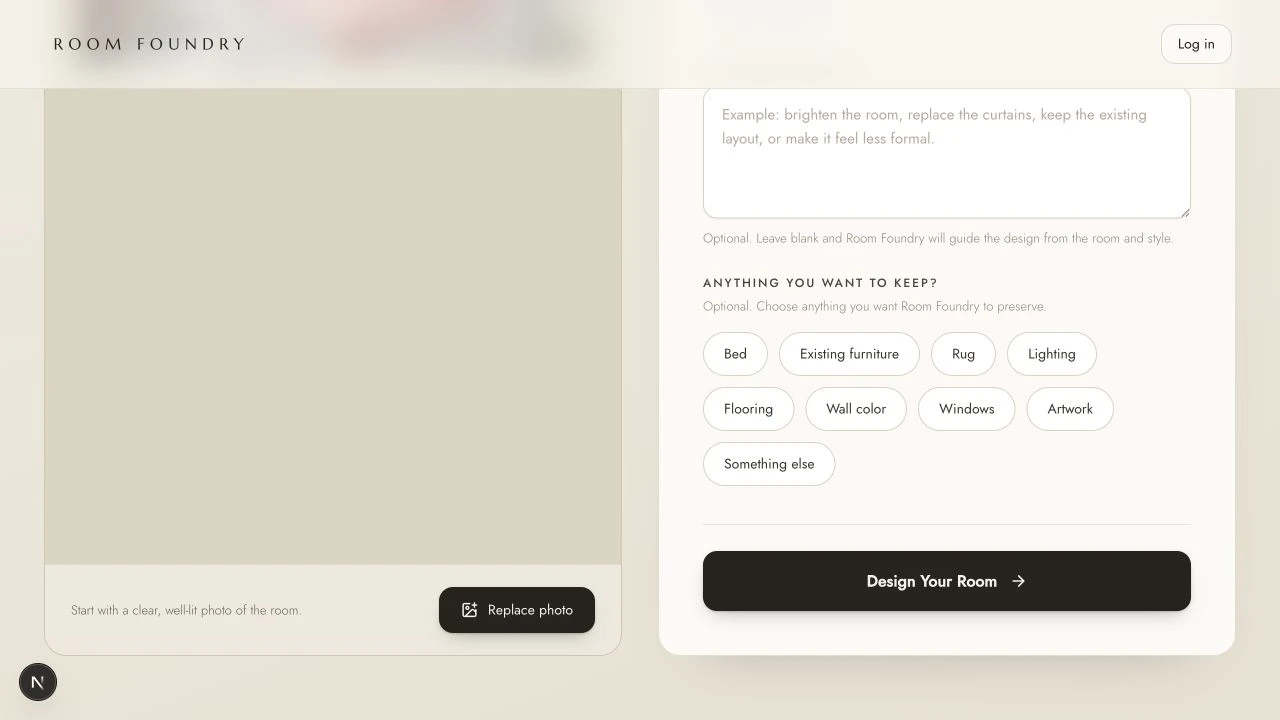
For a deeper preservation workflow, use the guide to redesign a room while keeping existing furniture. It explains how to rank fixed, keep, and flexible elements before generating.
4. Generate and compare the first concept
In Room Foundry, generate the first preview free, then create a free account to reveal and save it. Compare the preview with the source photo before reacting to the styling. Are the windows and doors still where you expect? Is the room type recognizable? Did the system preserve the highest-priority item? Does the circulation look plausible? Only then assess color, furniture, textiles, lighting, and decor.
A strong first concept does not have to preserve every small object. It should keep the room legible and answer the design question you asked. A beautiful image that silently removes a radiator, adds an impossible wall, or replaces the furniture you marked as essential is less useful than a quieter image that respects the constraints. Judge usefulness before polish.
5. Refine the most important mismatch
If the concept is close, change one category at a time. Ask for a lighter rug, simpler curtains, less decor, or the original bed orientation—not a complete list of unrelated revisions. Focused changes make versions easier to compare. Save the strongest direction and use it as a reference for a measured shopping list, not as proof that every depicted item exists.
What Photo-Based AI Is Good At
- Comparing broad style directions in the same recognizable room.
- Testing whether a warmer, cooler, lighter, darker, quieter, or more layered palette suits the space.
- Exploring furniture categories, rug coverage, curtain presence, wall-art scale, lighting mood, and accessory density.
- Showing how existing major pieces might feel with different surroundings.
- Creating a visual brief that makes conversations with a partner, retailer, painter, contractor, or designer more concrete.
- Reducing an open-ended makeover into a shortlist of decisions worth measuring and pricing.
These strengths are about comparison. A preview is valuable when it helps you reject three weak directions, identify one promising palette, or recognize that the room needs fewer objects rather than more. It does not need to predict a finished installation pixel for pixel to improve the next decision.
A practical example: choosing a bedroom direction
Imagine that an existing bedroom feels busy, but the bed and flooring need to stay. One preview can test warmer white walls, full-length neutral curtains, simpler bedding, two restrained art pieces, and wood nightstands. A second can test the same constraints with deeper color and darker lighting. You are not asking which generated room is objectively correct. You are learning whether calm contrast or dramatic contrast better supports the real room.
Once the direction is clear, translate visual features into specifications. ‘Large olive rug’ becomes a measured maximum and minimum size, pile requirement, material preference, and budget. ‘Warm wood nightstand’ becomes a width, height, storage need, finish sample, and delivery constraint. The preview starts the brief; real information completes it.
A practical example: working around a living-room sofa
For a living room, the most expensive existing piece may be the sofa. Mark it as a keep item and explore a rug, coffee-table category, curtains, lighting, and art around it. If the generated sofa changes color or shape, the version has missed a critical constraint. If the sofa remains recognizable and the surrounding palette becomes clearer, the image can still be useful even though the proposed lamp and table are only references.
What the Preview Cannot Reliably Confirm
Exact measurements and fit
Do not estimate purchase dimensions from the generated image. Measure wall spans, ceiling height, doors, windows, radiators, outlets, existing furniture, walking paths, and the delivery route. Confirm the retailer's assembled dimensions and required clearance. A sofa that appears balanced in a preview can still block a door or fail to turn through a stairwell.
Photographic perspective can also make the foreground appear larger and the far wall smaller. Wide-angle phone lenses exaggerate that effect. If layout is the main decision, sketch a simple measured plan and mark doors, windows, vents, radiators, outlets, and fixed furniture. Use the generated view for visual relationships and the plan for physical fit.
Construction, structure, systems, and code
An image cannot inspect structure, moisture, wiring, ventilation, plumbing, fire protection, mounting conditions, or local requirements. Treat moved walls, new openings, built-ins, hardwired lighting, plumbing, fireplace work, and other construction as ideas requiring qualified review. Renters should also confirm lease and building rules before mounting, painting, or replacing fixtures.
Product identity, material, and color
A generated chair, lamp, or rug may resemble a real category without corresponding to a purchasable product. Even when a close match exists, screen color, room light, texture, dye lot, and finish can change the result. Verify the current listing, dimensions, material, care, price, stock, delivery, warranty, and return terms. Order samples when color or texture carries the design.
Perfect preservation
Keep instructions improve direction but do not guarantee that every seam, leg, molding, or accessory will be reproduced exactly. Compare critical objects and architectural features with the original photo. If the system changes a non-negotiable feature, revise or discard that version rather than treating the alteration as an approved plan.
Budget and finished outcome
The image does not include a complete bill of materials, labor, shipping, tax, prep work, waste, or schedule. Set a real budget after identifying the direction. Price exact products and services, keep contingency for installation, and distinguish a low-risk decor refresh from work that needs professional design or construction support.
A Real Room Foundry Before and After
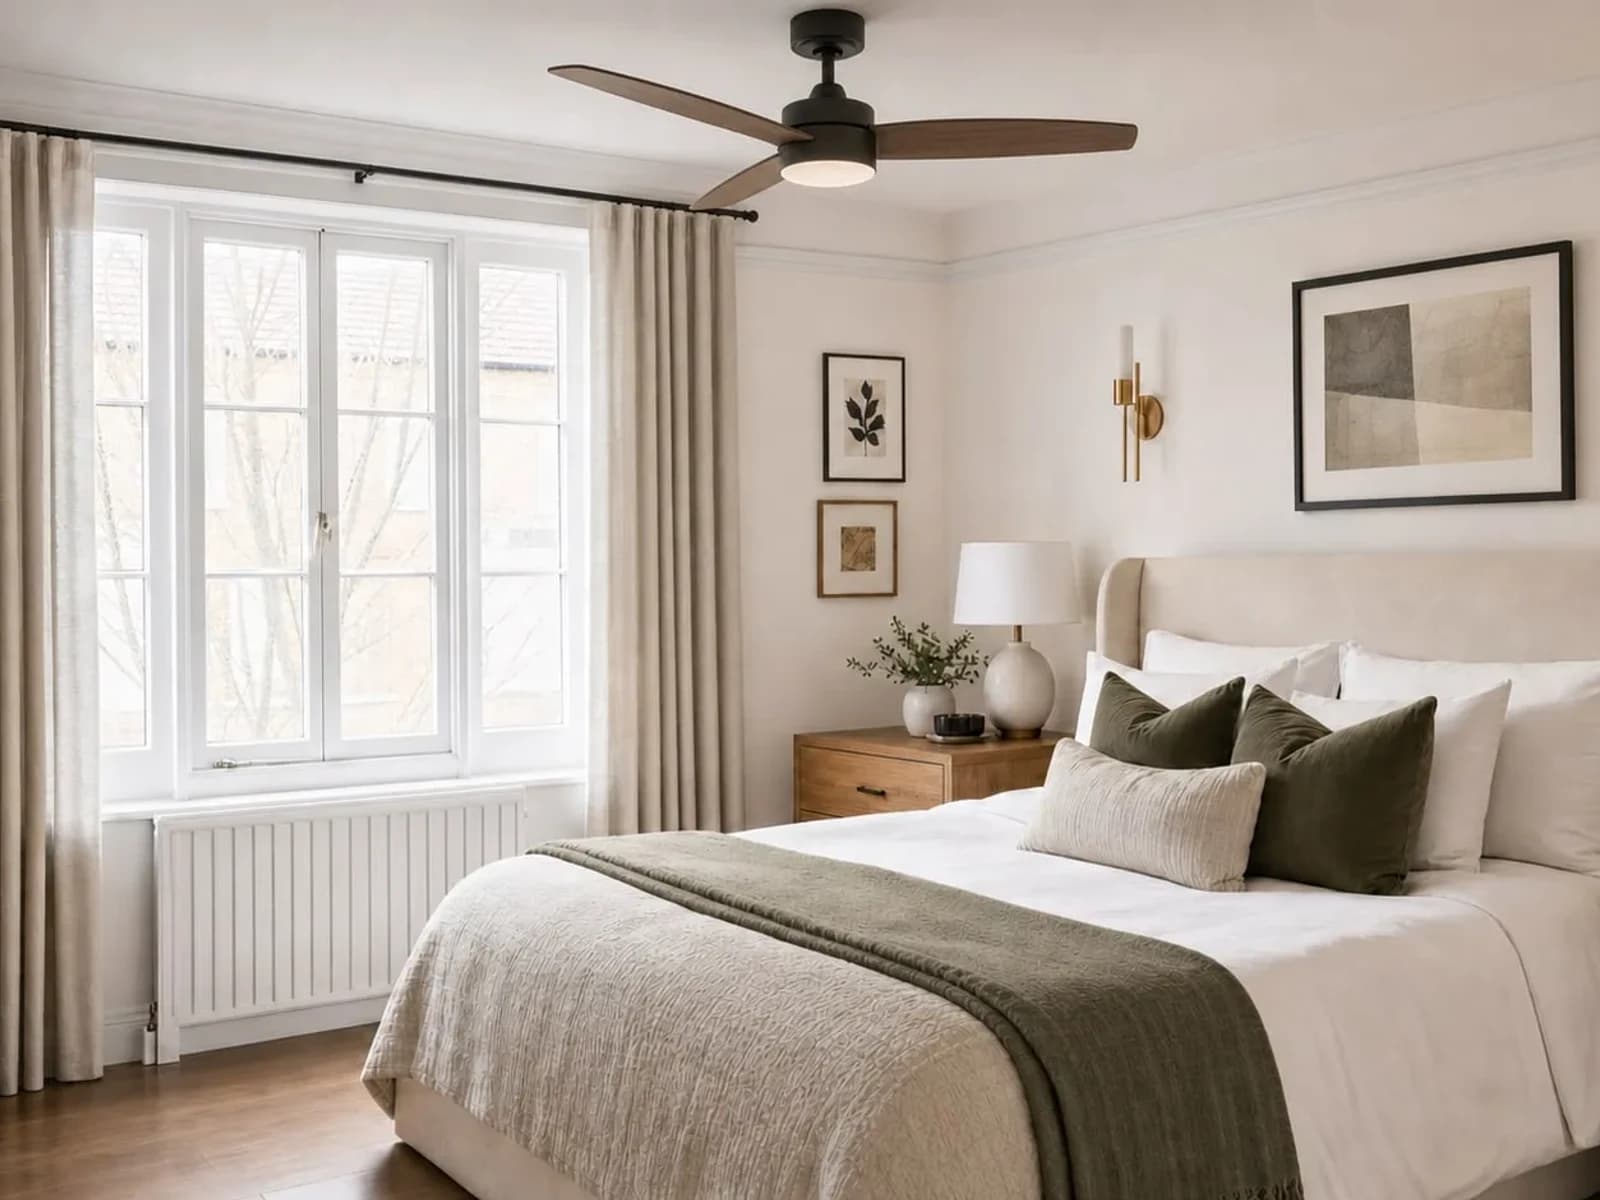
The pair below uses a real source room photo and a verified Room Foundry-generated preview. It demonstrates the intended use: the output preserves a recognizable bedroom and provides a clearer direction. The after image is not a photograph of completed work, and it should not be read as evidence that the depicted furniture, clearances, or finishes were installed.
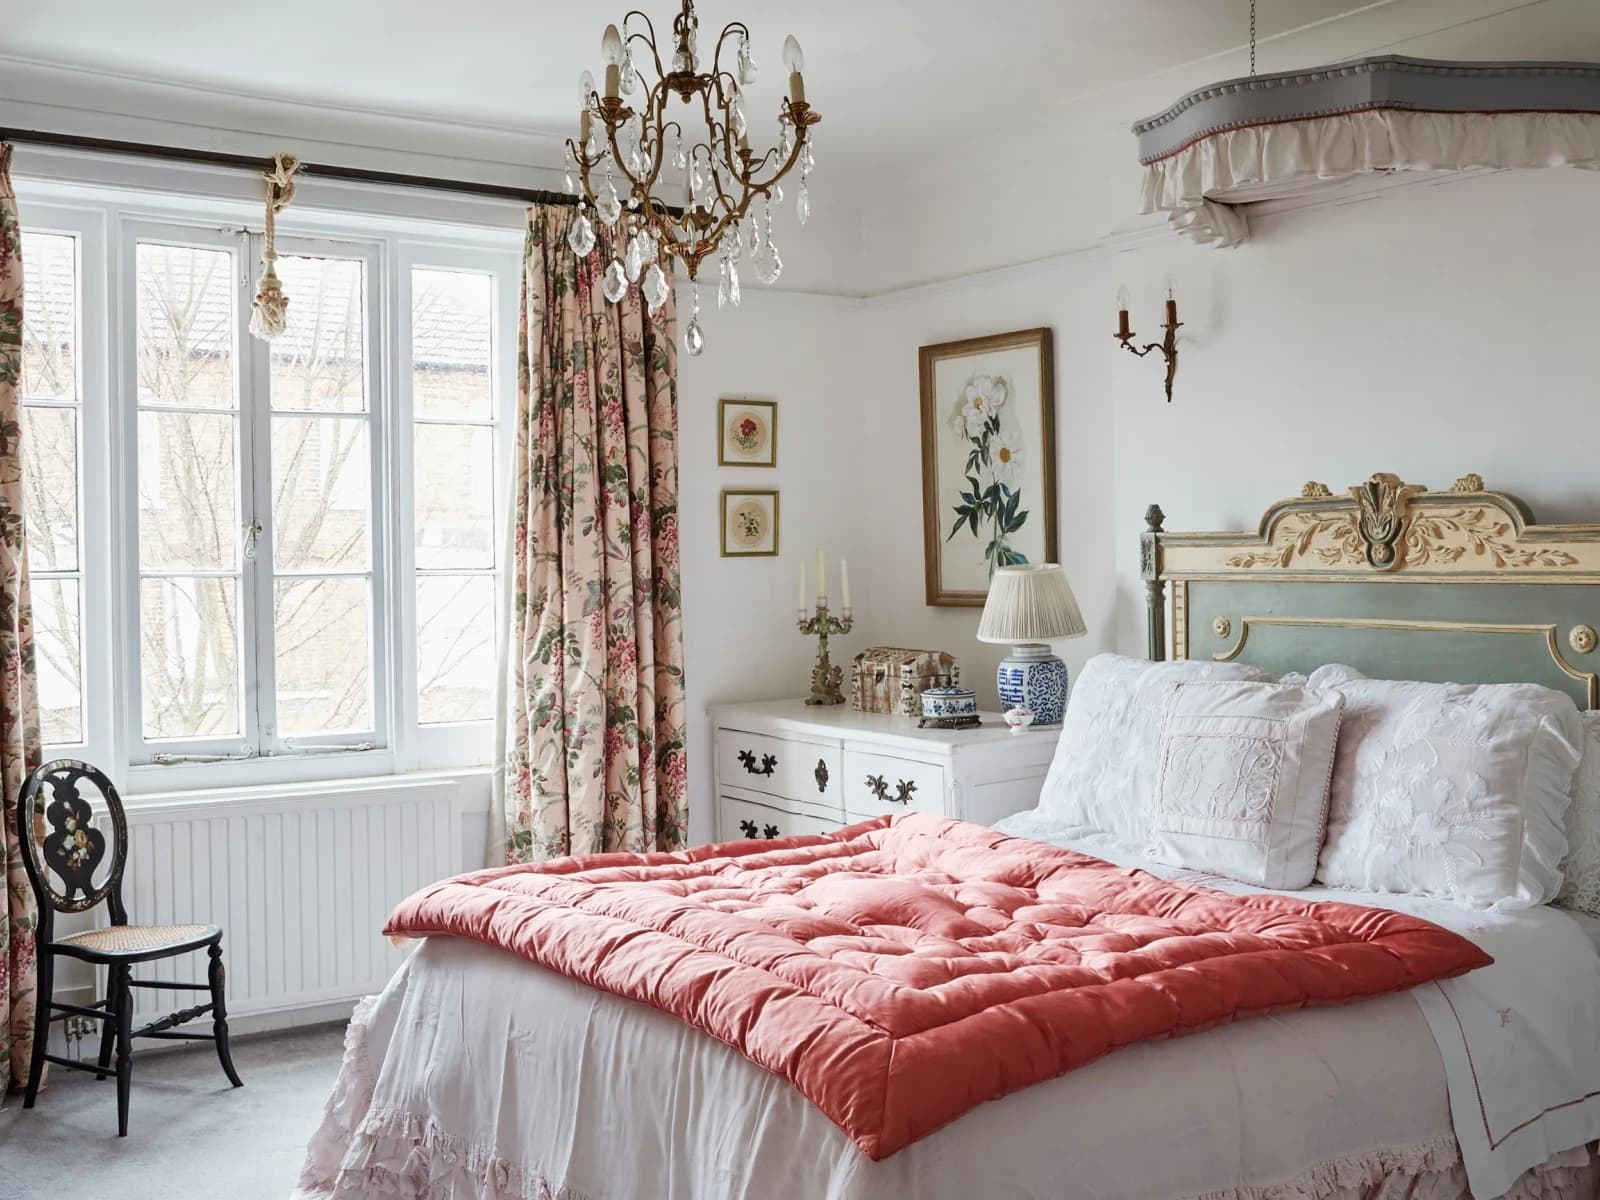 beforeafter
What stayed recognizable
The room remains a bedroom viewed toward the same large window, with the radiator below it and a similar overall shell and camera relationship. Those anchors make the concept readable as a redesign of the source rather than an unrelated inspiration image.
What changed
The preview proposes a warm-modern direction through quieter curtains, layered neutral bedding, olive accents, natural wood, simplified wall art, softer lighting, and reduced ornamental detail. It also changes furniture and finish details. Those changes are design prompts to source and test, not verified products.
What still needs verification
Measure bed and nightstand clearances, window and radiator access, curtain length and mounting, circulation, outlet locations, and any required fixture work. Confirm that textiles and furniture are appropriate near the radiator, verify real material samples, and check installation feasibility before purchasing.
How to Get a More Useful AI Room Result
- Use a current, bright, level photo with the room shell and major objects visible.
- Choose one primary style instead of combining several competing directions.
- Describe visible priorities such as palette, wood tone, textile weight, or amount of decor.
- Rank constraints: what is fixed, what must stay, and what may change.
- Keep the source image free of filters, extreme wide-angle distortion, and temporary clutter where possible.
- Compare architecture and preservation first; evaluate decoration second.
- Revise one high-impact mismatch at a time and keep the strongest version for reference.
- Measure, sample, price, and check current product terms before committing.
If your main question is whether one service supports this workflow better than another, read the evidence-led Room Foundry versus RoomGPT comparison. Recheck both products directly because features and pricing can change.
How to Judge an AI Interior Design Tool
A useful tool should start from your actual photo, show a recognizable relationship to the source, accept clear style and preservation inputs, and support iteration. Look for honest language about generated concepts, understandable privacy and account terms, and a workflow that helps you move from image to decisions rather than stopping at novelty.
| Evaluation question | Useful evidence |
|---|---|
| Does it use my real room? | The same openings, fixed features, viewpoint, and room type remain recognizable. |
| Can I express constraints? | Style, notes, and keep controls are available before generation. |
| Can I improve the result? | The workflow supports saving, comparing, or refining concepts. |
| Are the limits clear? | The service distinguishes generated imagery from measurement, product, and professional advice. |
| Does it support a next decision? | The result can become a measured brief or shopping-category shortlist. |
Be cautious when a service implies that a single image guarantees exact fit, identifies materials with certainty, replaces professional review, or produces a construction-ready plan without measurements. The NIST Generative Artificial Intelligence Profile emphasizes validity, reliability, human oversight, and setting appropriate expectations. In a room-design workflow, that means keeping the human decision-maker responsible for verifying the physical facts behind a convincing image.
Turn the Preview Into a Real-World Decision Plan
- Choose one preferred direction and write down why it works.
- Separate the concept into keep, change, and optional categories.
- Measure the real room and every retained item that affects fit.
- Translate generated objects into categories: upholstered bed, warm oak nightstand, olive pillow, full-length neutral curtain.
- Find current real products and verify specifications, materials, stock, delivery, and returns.
- Order samples or test low-commitment changes before large purchases.
- Confirm lease rules, mounting conditions, electrical needs, clearances, and construction feasibility.
- Bring in a qualified interior designer, architect, contractor, electrician, plumber, or other professional when scope or risk requires it.
This sequence preserves what AI does best: making options visible early. It also protects you from treating visual plausibility as physical proof. The result is a smaller, better-defined set of real decisions—with fewer speculative purchases and a clearer brief for any professional help you need.
Final Thoughts
AI interior design from a photo is most valuable between inspiration and implementation. It can show a new direction in the room you already have, make style language concrete, and help you decide what deserves further investigation. It should not be the final authority on fit, products, safety, construction, or cost.
Upload a clear photo, give the system a coherent direction, name the features that matter, and judge the result against the source. Then measure the actual space, inspect samples, verify current listings, and involve qualified professionals where needed. That is how a compelling image becomes a useful design decision rather than an expensive assumption.
FAQ
Common questions
- How do I upload a room picture for AI interior design?
- In Room Foundry, choose a photo of your room, select the room type and one style, then mark the items you want to keep and add optional notes. Generate a preview and compare the openings, fixed features, and kept furniture with your original picture. Verify measurements and product fit in the real room.
- What is AI interior design from a photo?
- It is a visual concept workflow that uses a photo of your real room, plus style and constraint inputs, to generate a redesigned view of the same space. It is useful for comparing directions before buying, but it is not a measured floor plan or construction document.
- Will AI keep my room and layout recognizable?
- A room-photo workflow is intended to preserve the recognizable shell and viewpoint, and clear keep instructions can improve continuity. Generated images can still change proportions or details, so compare windows, doors, fixed features, circulation, and important furniture with the source photo.
- Can AI measure my room or tell me whether furniture will fit?
- No. A single photo does not replace real measurements. Measure the room, doorways, furniture, clearances, and delivery path before purchasing or installing anything.
- Can I buy the exact products shown in an AI room preview?
- Treat generated objects as visual references unless the tool links to a separately verified real product. Confirm dimensions, material, color, price, availability, delivery, and return terms on the retailer's current listing.
- Is Room Foundry free to try?
- Yes. Generate your first Room Foundry preview free, then create a free account to reveal and save it. No credit card is required. Further generations use credits.
Keep exploring
Related reading
AI Room Design
Room Foundry vs. REimagineHome: Which AI Room Design Tool Fits Your Project?
AI Room Design
AI Interior Design vs. an Interior Designer: Which One Do You Need?
AI Room Design
AI Bedroom Design From a Photo: A Practical Step-by-Step Guide
AI Room Design
How to Take the Best Photo for an AI Room Redesign
AI Room Design
How Accurate Is AI Interior Design? What to Trust and What to Verify
AI Room Design
30 AI Room Design Prompts for More Realistic, Useful Results
AI Room Design
Can AI Redesign a Room While Keeping Your Existing Furniture?
AI Room Design
AI Living Room Design From a Photo: A Practical Step-by-Step Guide
AI Room Design
Room Foundry vs RoomGPT: Features and Workflow Compared
Interior Design Styles
Japandi Style: How to Create a Calm, Minimal, and Warm Home
AI Room Design
How to Identify Your Interior Design Style From a Photo
AI Room Design
Can AI Show Furniture in Your Room? What a Preview Can and Cannot Confirm
AI Room Design
AI Room Design Apps From a Photo: A Decision Checklist
Try Room Foundry
See a new direction in your actual room.
Upload one clear room photo, choose a style, and generate your first preview free. Create a free account to reveal and save it. No credit card is required.
Preview your room free